


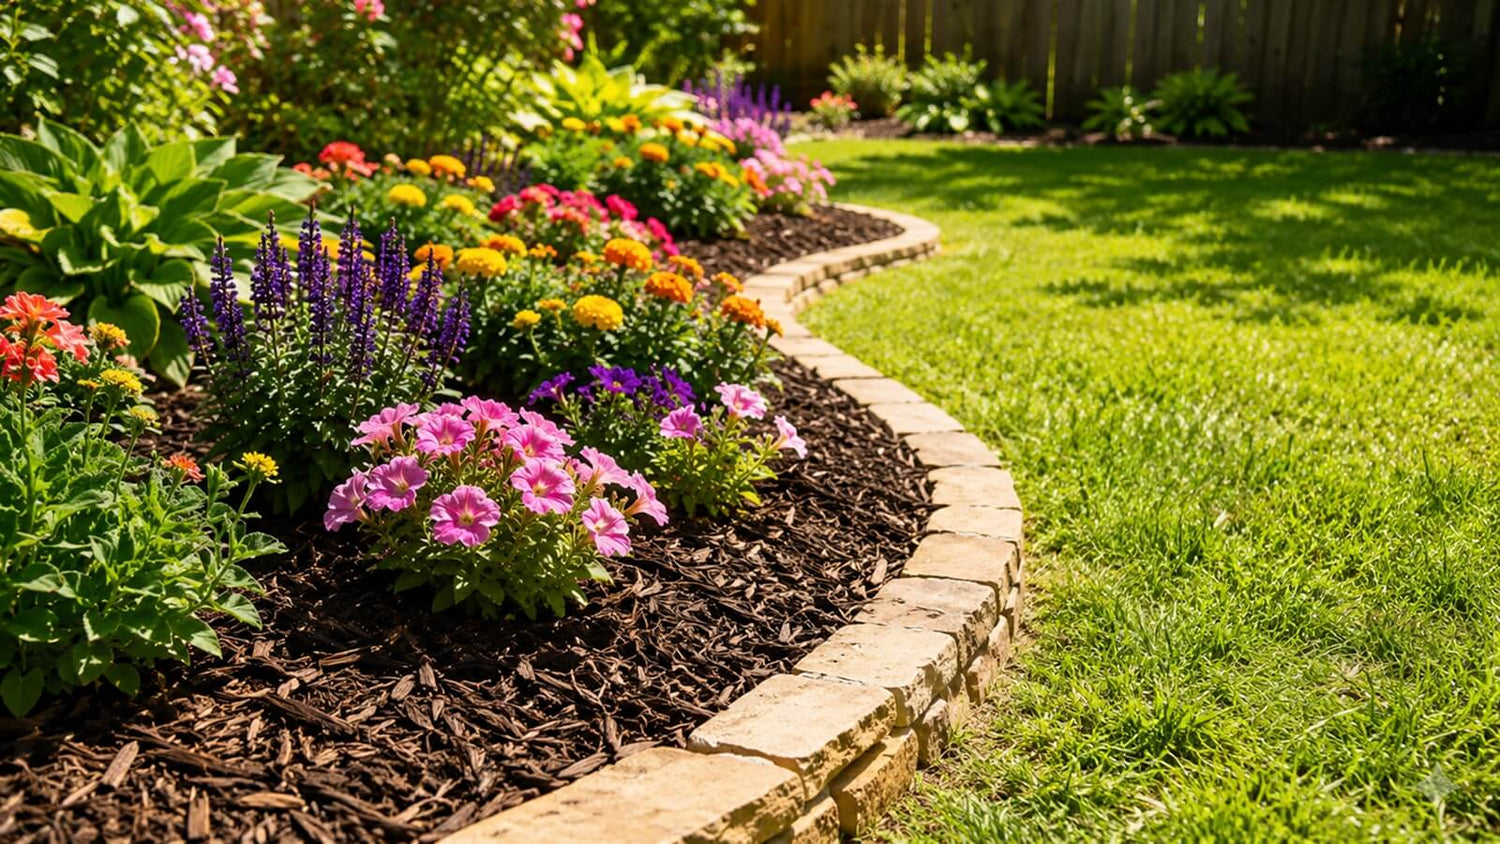
Applying Shabebe Mulch Glue is straightforward, grab a tool, mix, and go.
Here's how to pick the right one for your project.
Using the ready-to-use formula? Skip the mixing steps, just open and apply. Everything else in this guide applies the same way.
Pick Your Tool
Watering Can. Mix with water and pour directly over your bed. No extra equipment, good for small areas and quick touch-ups.
Pump Sprayer. Mix, pressurize, spray. More even coverage than a watering can, better for mid-size beds.
Electric Sprayer. Same process, but the sprayer maintains steady pressure for you. Best for large yards or multiple beds in one session. Shabebe's electric sprayer bundle is built for exactly this.
Read More: Sprayer vs. Pouring: Best Way to Apply Rock Glue or Mulch Glue?
Standard Application Process
Step 1 — Clear debris. Start clean and dry, debris weakens the bond.
Step 2 — Check the forecast. You'll need at least 12–24 hours without rain after applying.
Step 3 — Dilute with water. Don't forget to shake well before applying.
Step 4 — Apply the first coat, raking as you go. This helps the glue bond the mulch underneath, not just the surface.
Step 5 — Tamp it down while wet. Press the mulch flat with a trowel or tamper. This avoids loose, hollow spots underneath.
Step 6 — Rinse the sprayer nozzle. Submerge it in water so it doesn't clog before your second coat tomorrow.
Step 7 — Let it dry, about 12 hours. No foot traffic, no rain. Ready for the second coat once the surface turns clear and a light knock with your hand feels bonded, not loose.
Step 8 — Apply the second coat for the best hold. No need to rake or tamp again. This coat reinforces the surface.
Step 9 — Dry time: 12–24 hours. No foot traffic, no rain.
Step 10 — Clean the tools fully.
- For Pump sprayer: rinse the tank first, fill it with fresh water, pressurize, and spray continuously until the water runs clear through the line.
- For Electric sprayer: submerge the intake tube in water and run it continuously for about 30 seconds, then lift it out of the water and keep spraying 5–10 seconds to clear the line.
What Success Looks Like
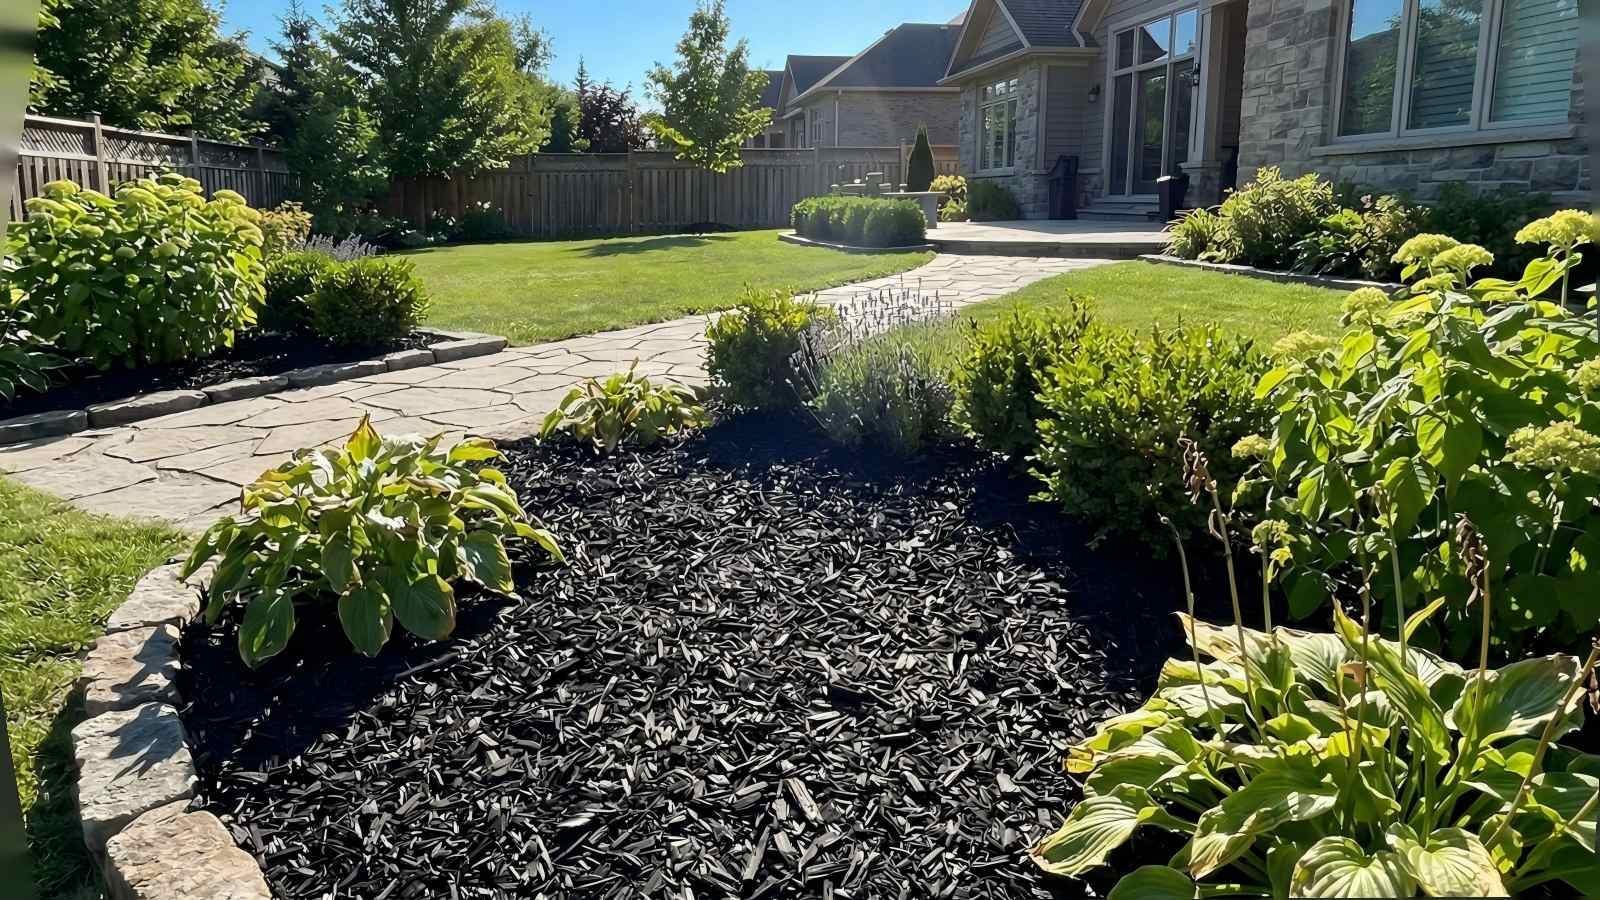
The treated area should be completely clear with no white residue, and the mulch should hold together when you run your hand lightly across it.
Watch: Shabebe Mulch Glue Application
Common Mistakes to Avoid
1. Not diluting the formula. Applying concentrated glue straight from the bottle leaves white residue on the surface.
→ Fix: mix with water first and stir the solution well before you start.
2. Applying too thick in one pass. A heavy coat sits on top instead of penetrating the mulch.
→ Fix: apply thin layers, two coats hold better than one thick one.
3. Applying before rain. The formula needs 12–24 hours of dry conditions to set.
→ Fix: check the forecast before you start, and hold off if rain's expected within that window.
4. Using it in high-traffic areas. Shabebe Mulch Glue (Concentrated) is designed for decorative beds with no to low foot traffic. It's not driveways or other high-load, high-traffic surfaces.
→ Fix: stick to decorative beds and borders where foot traffic stays light.
Ready to see where mulch glue fits in your yard? What Is Mulch Glue? The Homeowner's Guide covers the full picture.
Apply on a dry afternoon and your beds are locked in by the next morning.

Leave a comment
This site is protected by hCaptcha and the hCaptcha Privacy Policy and Terms of Service apply.