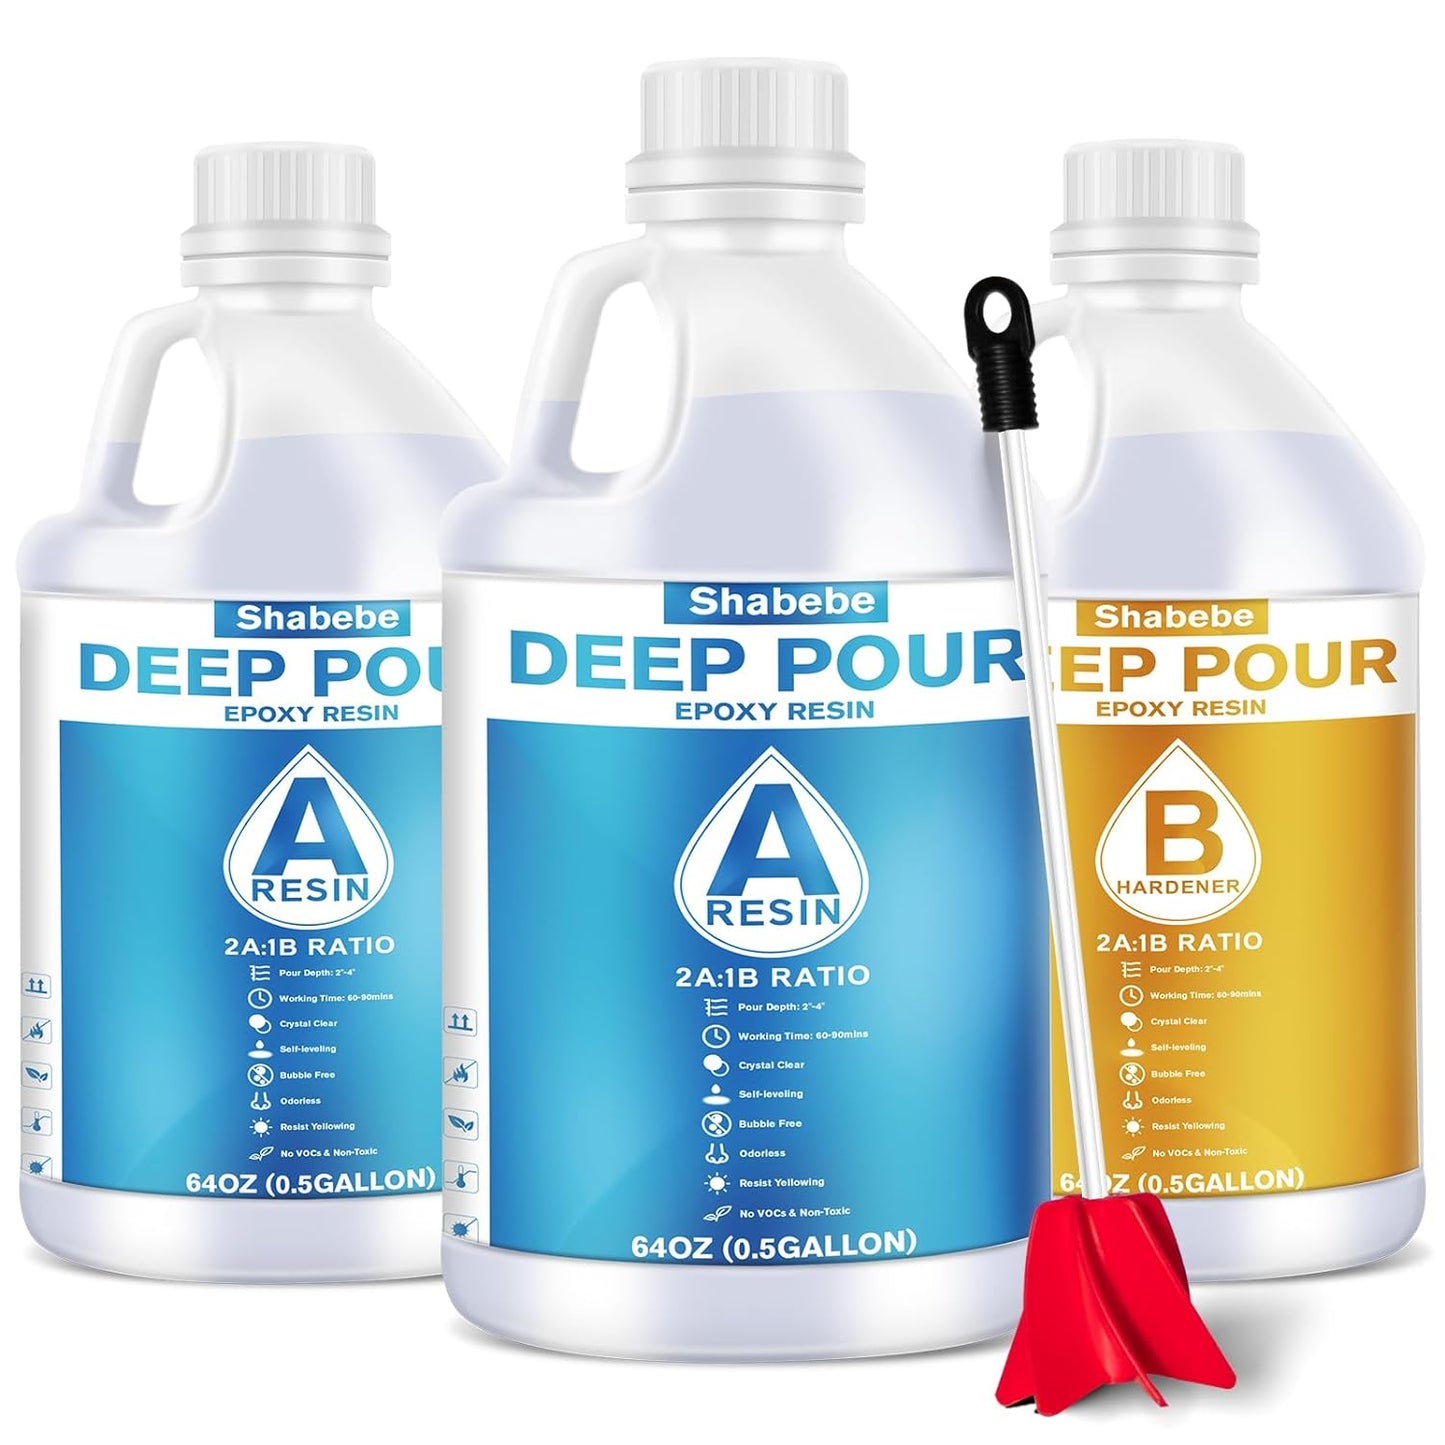
Shabebe
Deep Pour Epoxy Resin 1.5 Gallon, 2 to 4 Inch Depth Clear Epoxy Resin Kit with Mixer for River Table
Couldn't load pickup availability


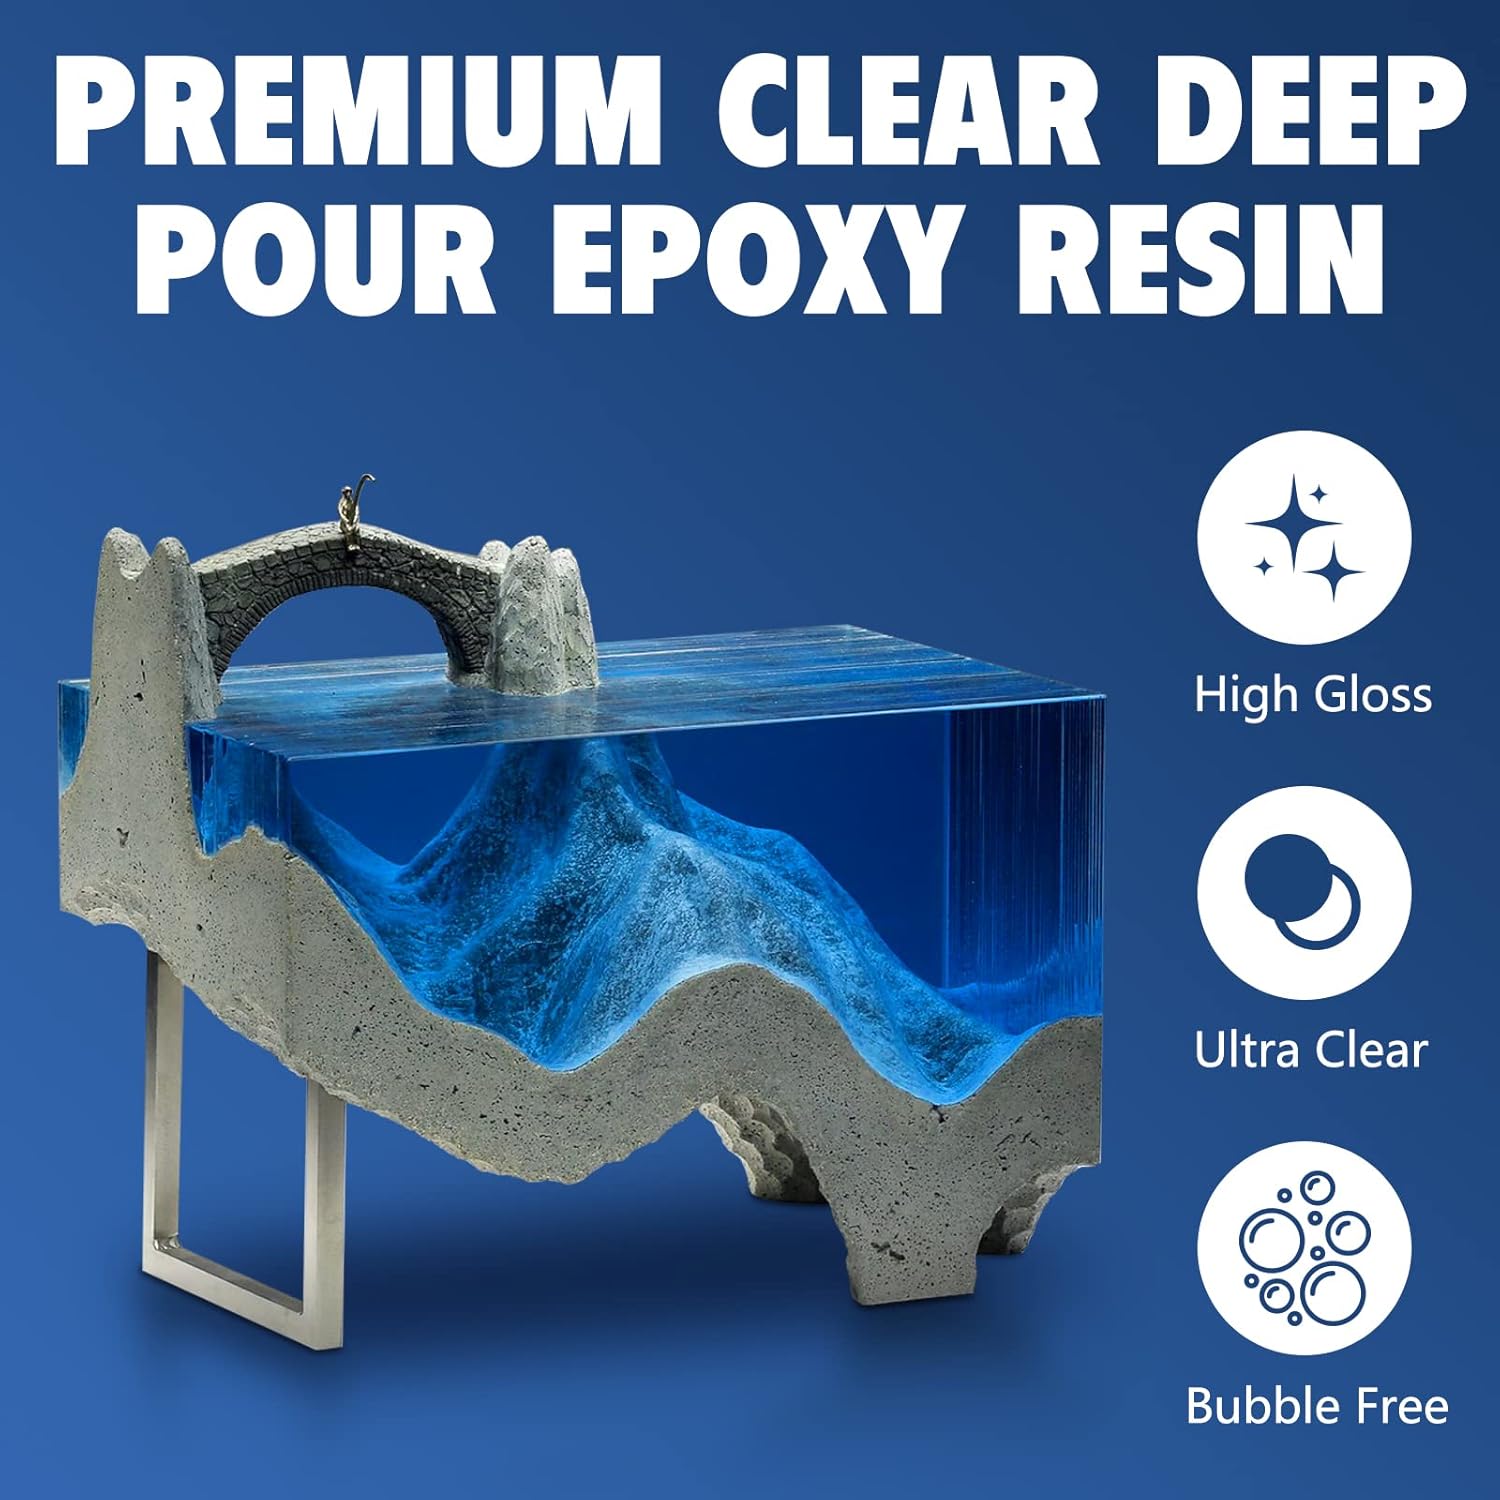
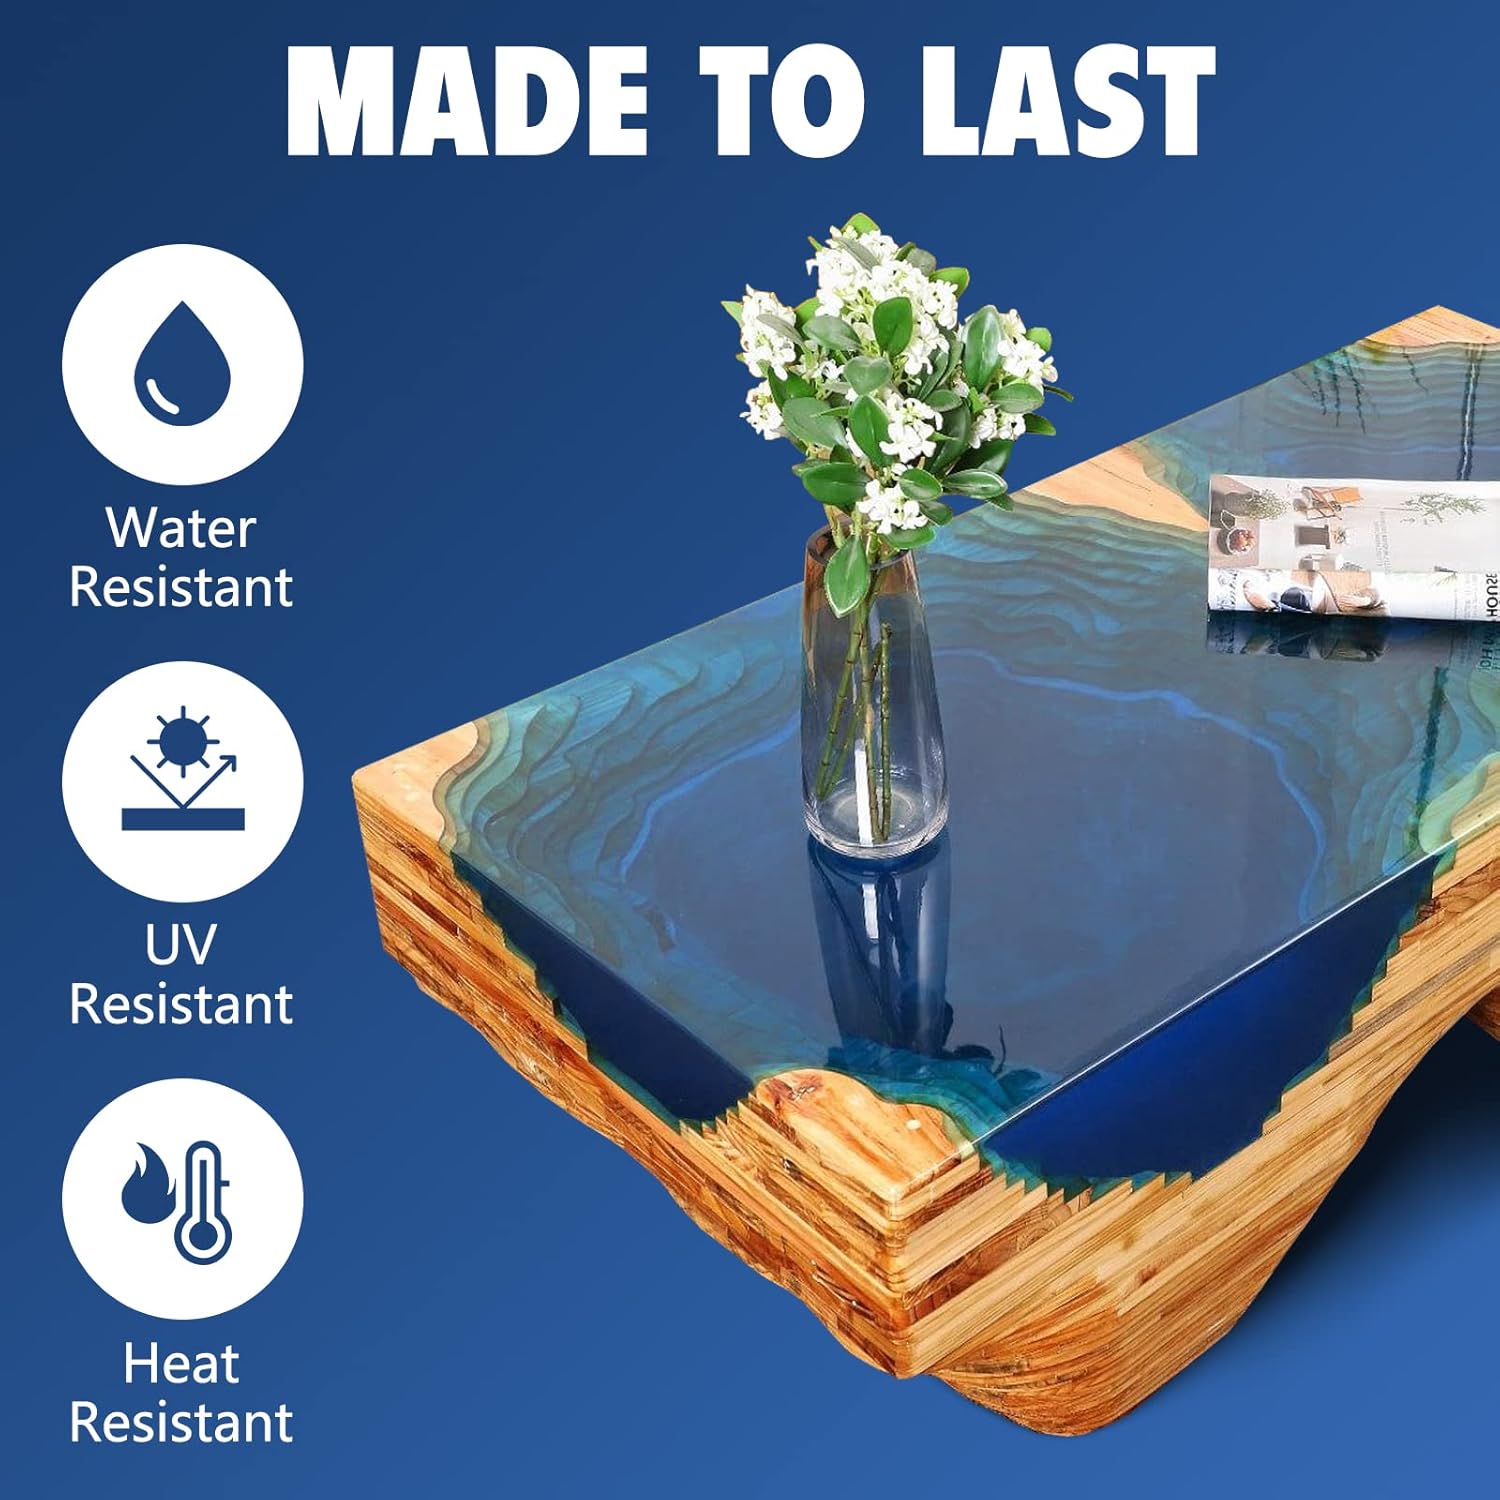
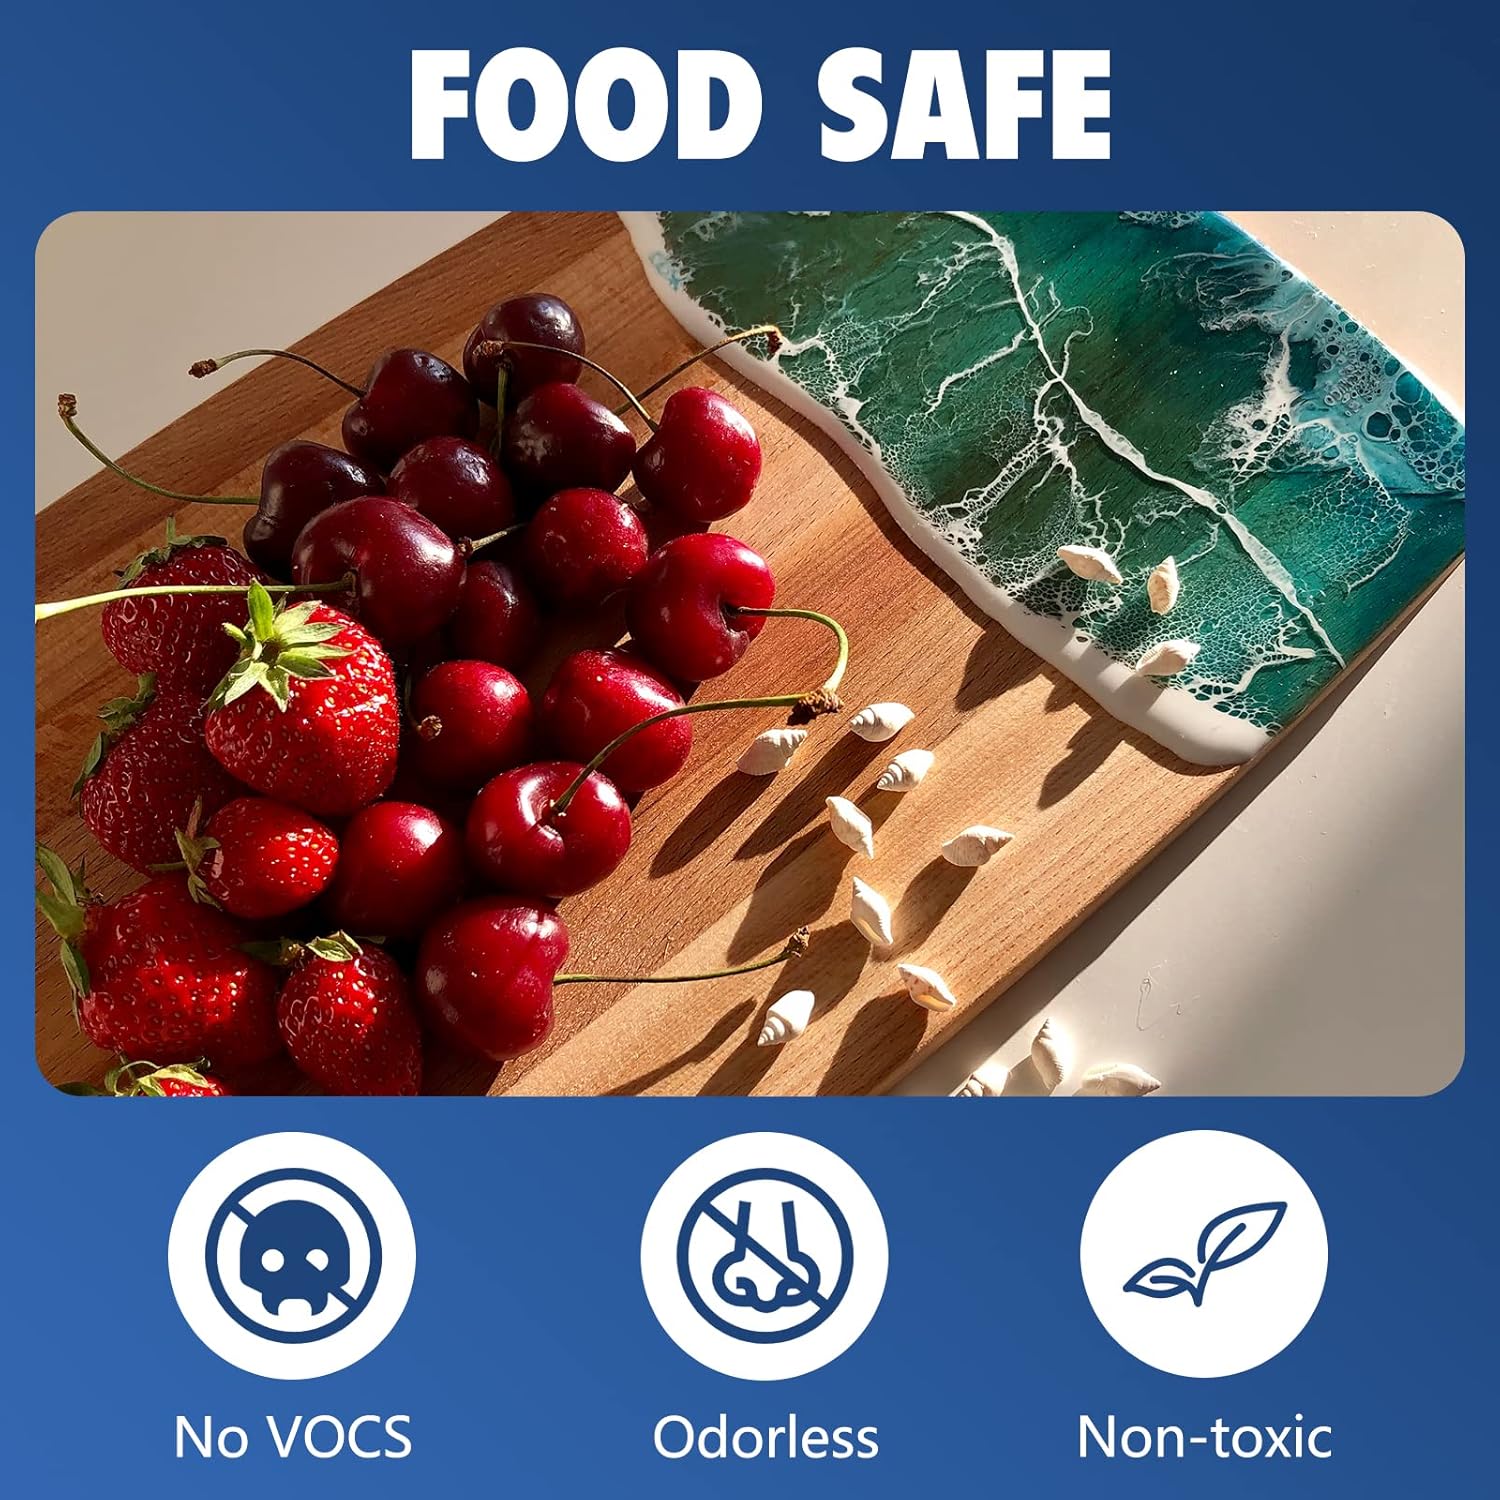
Shabebe 2:1 Deep Pour Epoxy Resin, Perfect for River Table.
NOTE1: For best results, keep room temperature at 20℃/68℉ or lower . In unventilated areas, please use fans to dissipate heat. (Be sure to avoid airflow blowing directly onto the resin surface to avoid ripples)

High Quality Epoxy Resin Kit.
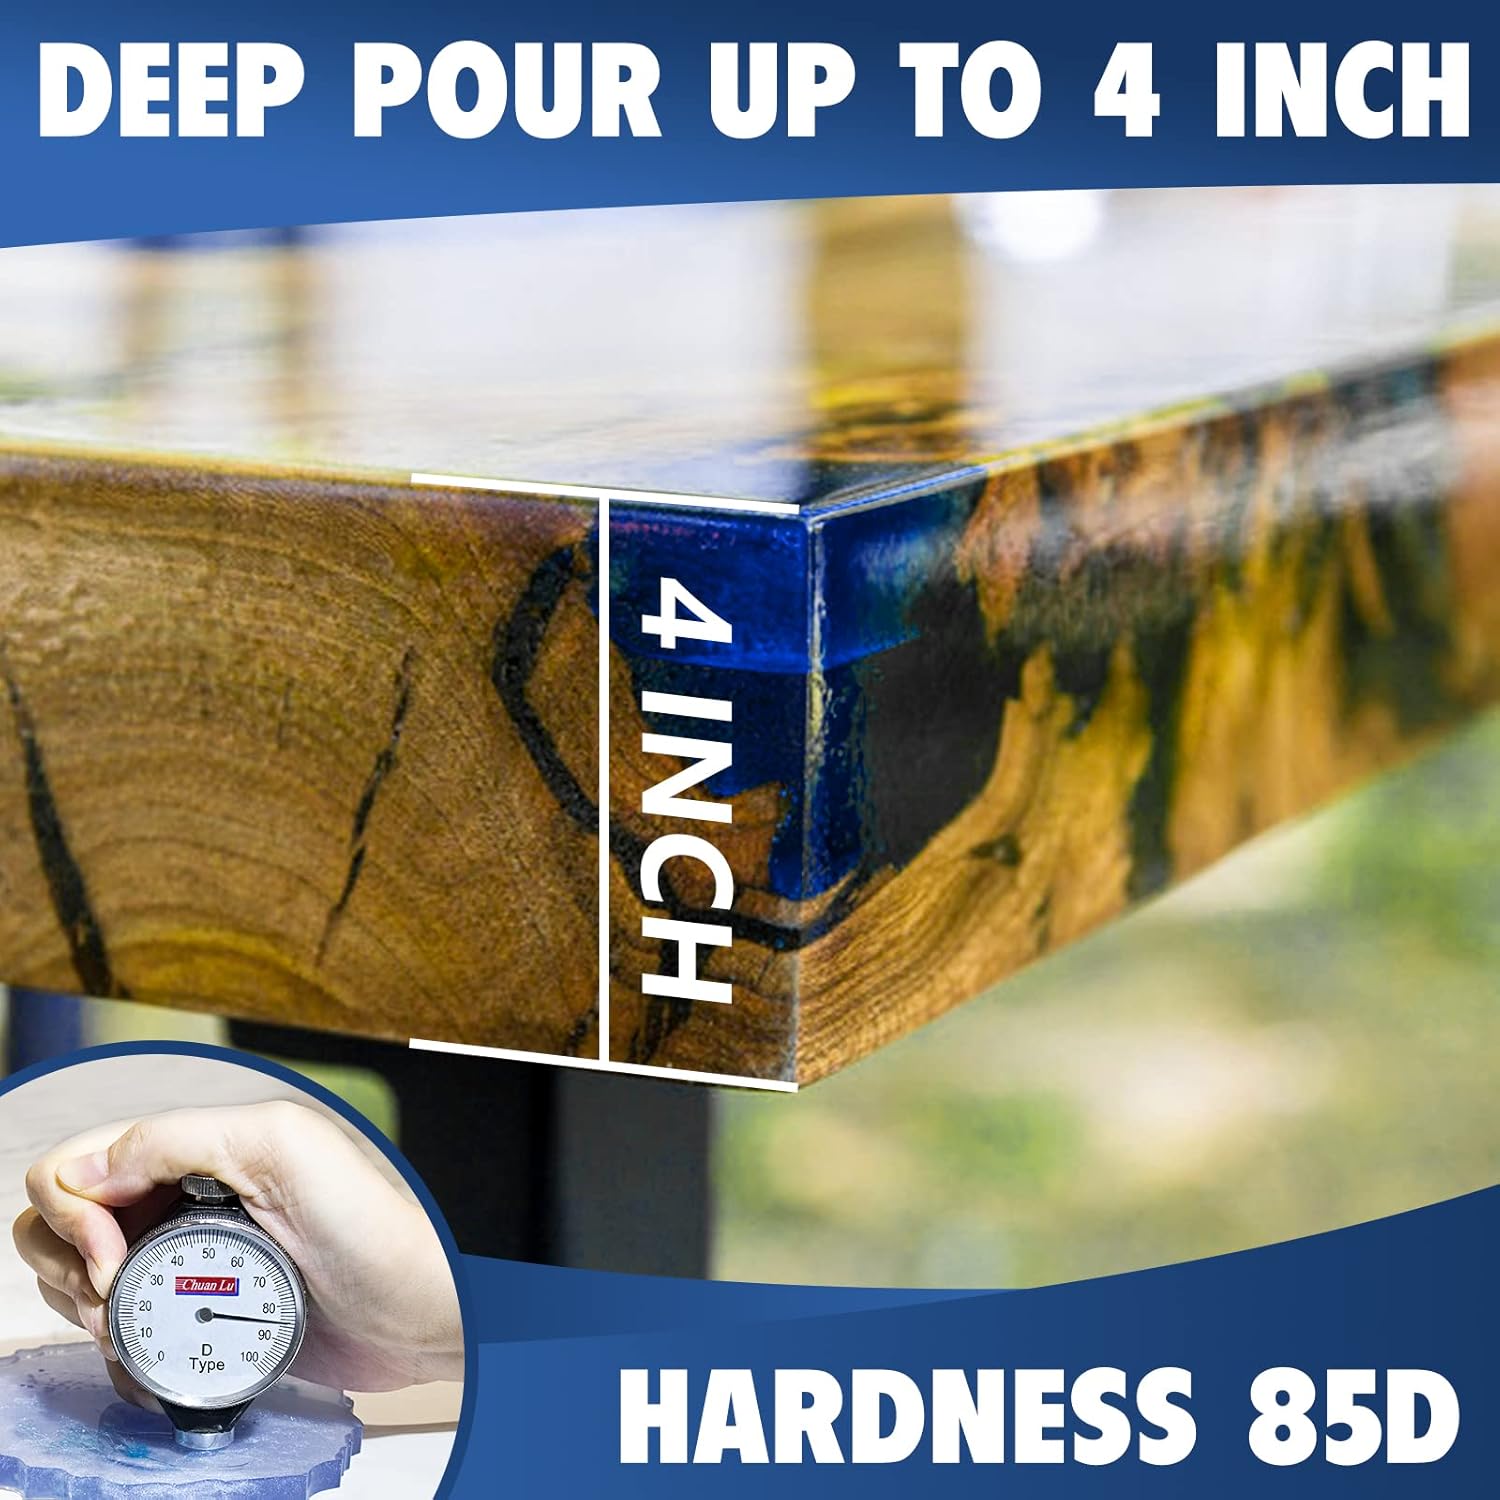
NOTE2: The maximum one-time pouring volume can reach 10KG-15KG, but in order to obtain the best effect, when the depth exceeds 3 inches and the resin volume exceeds 12KG, it is recommended to operate in layers.

Easy to Use, Even for Beginner.
NOTE3: If there is shrinkage on the surface of the river bed, you can pour another layer of resin on the shrinkage area or polish it.

Instructions for River Table
Please note that proper temperature, surface cleaning, pre-treatment and defoaming can reduce the risk of river table cracking.
Step 1: Ideal Working Conditions
Maintain the recommended temperature of around 20℃/68°F for optimal results. Ensure a clean, dry, and dust-free environment. Avoid working in high humidity. Use a fan at the bottom of the river table to dissipate heat (Be sure to avoid direct airflow onto the resin surface to prevent ripples).
Step 2: Measuring and Thorough Mixing
Measure the Resin and Hardener in a 2:1 ratio by volume. Use a clean, smooth-sided container with ample room for mixing. Mix the components thoroughly for at least 3-5 minutes. Be sure to scrape the container sides, bottom, and corners as you mix. We recommend mixing no more than 1 gallon at a time. If the mixing volume is large, please mix in batches to ensure thorough mixing.
Step 3: Maximum Pouring Limits
The maximum one-time pouring should be within the range of 10KG-15KG (about 2-3 gallons). For depths exceeding 3 inches and resin volumes surpassing 12KG(3 gallons), consider pouring in layers for optimal results. If you plan to make a second pour, ensure that the first layer has fully hardened and is no longer tacky. After the second pour, you may need to address any bubbles that arise. The material will feel hard after approximately 24 hours, but complete curing and achieving maximum hardness can take anywhere from 3 to 7 days, depending on the specific work environment and conditions.
Step 4: Bubble Removal
Use a heat source such as a heat gun to remove any bubbles by adding a small amount of heat to the surrounding area. The bubble will rise to the surface and pop.
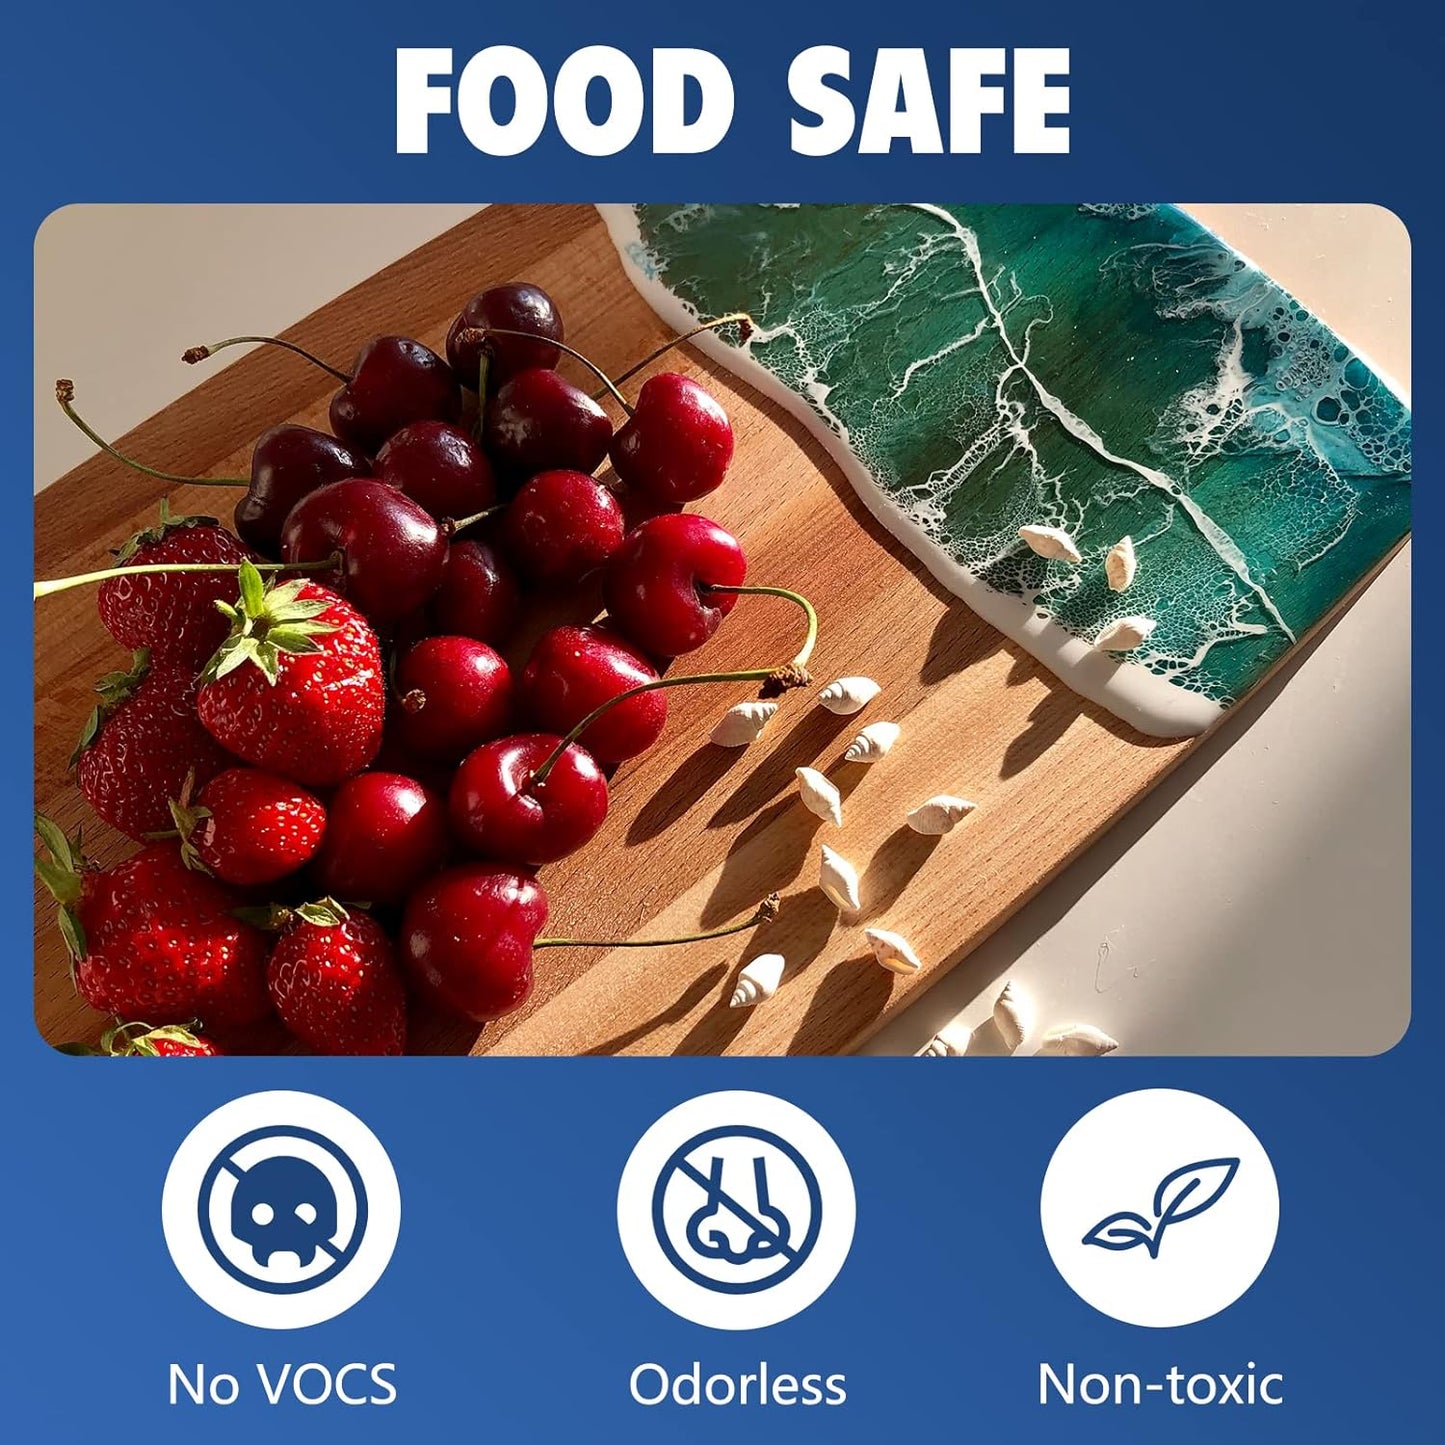
Ideal for all Casting, Coating and Art Projects.

Share


